Showing posts with label Easy. Show all posts

Friday, November 9, 2012

Taco Soup

My mom has been making this delicious (and oh so easy taco soup for the last few years). Its one of my favorite go to recipes because it is so easy. This recipe does need a packet of Ranch Dressing Mix. It is the "salad dressing and seasoning mix". I have found that this one works better than any other I have tried. 


 Taco Soup

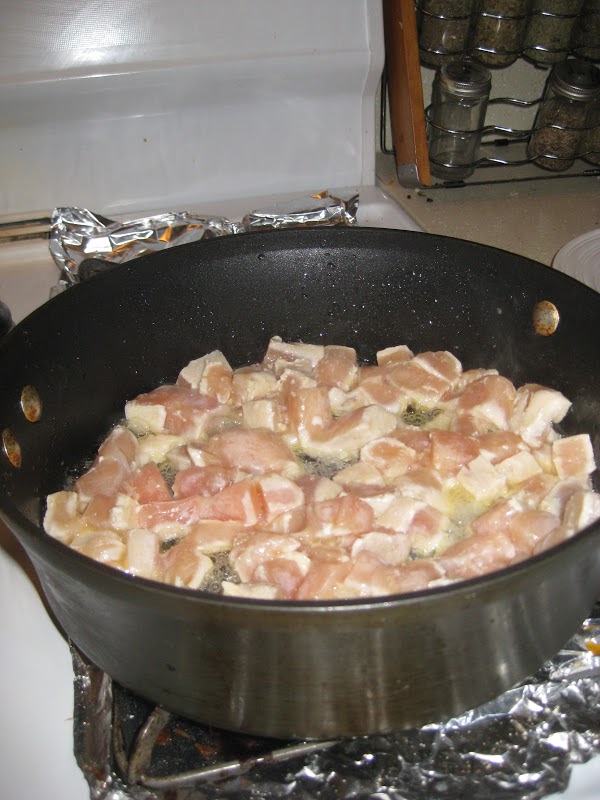
1 lb Chicken, cut into bite sized pieces and browned in olive oil
Add 1 packet of Taco Seasoning Mix
1 1/2 C. Water
1 Can Pinto Beans
1 Can Mild Chili Beans
1 Can Stewed Tomatoes 
1 Can Diced Tomatoes
1 Packet of Hidden Valley Seasoning Mix
1 Green Pepper cut into bite-sized pieces

Simmer for 30 minutes or on high in Crock pot for 1 1/2 hours.
Serve with Sour Cream and grated cheese.

Note: My family doesn't like green peppers so I leave that out.

Enjoy your quick and easy meal!

Mallory

Friday, June 22, 2012

Fancy Friday: Wavy Hair

I am both blessed and cursed with my hair. Sure, it's thick, it's long, yatta yatta yatta. I hear it often, you're so lucky, I wish I had that....but I don't think most people understand that this type of hair come with a SCROLL of issues.

With the amount of time I have invested in my hair in the last ten years, I could have written a novel to rival the Potter series, sailed around the world mayyyybe four times, and parented and raised the next President of the United States. 

Seriously.

NOTHING is more time consuming. Ask my husband.

For example: When I want to curl my hair, I need an HOUR at least. Comfortably, 90 minutes. None of this, I get up at a normal time and decide, "Oh, I think I'll look cute today." 

No no no nooo...I have to set the alarm and make an extra pot of coffee.
An hour may not seem like much, but try holding your arm at a 90 degree angle above your head for an hour.....you'll get the idea.

So, to combat the time issue (because, let's be honest, my sleep is becoming more important than a pretty do in the morning), I've looked into no heat styling. It's easy, faster (since the styling part take place whilst I'm "zzzzz"-ing), and healthier!

What could be better??


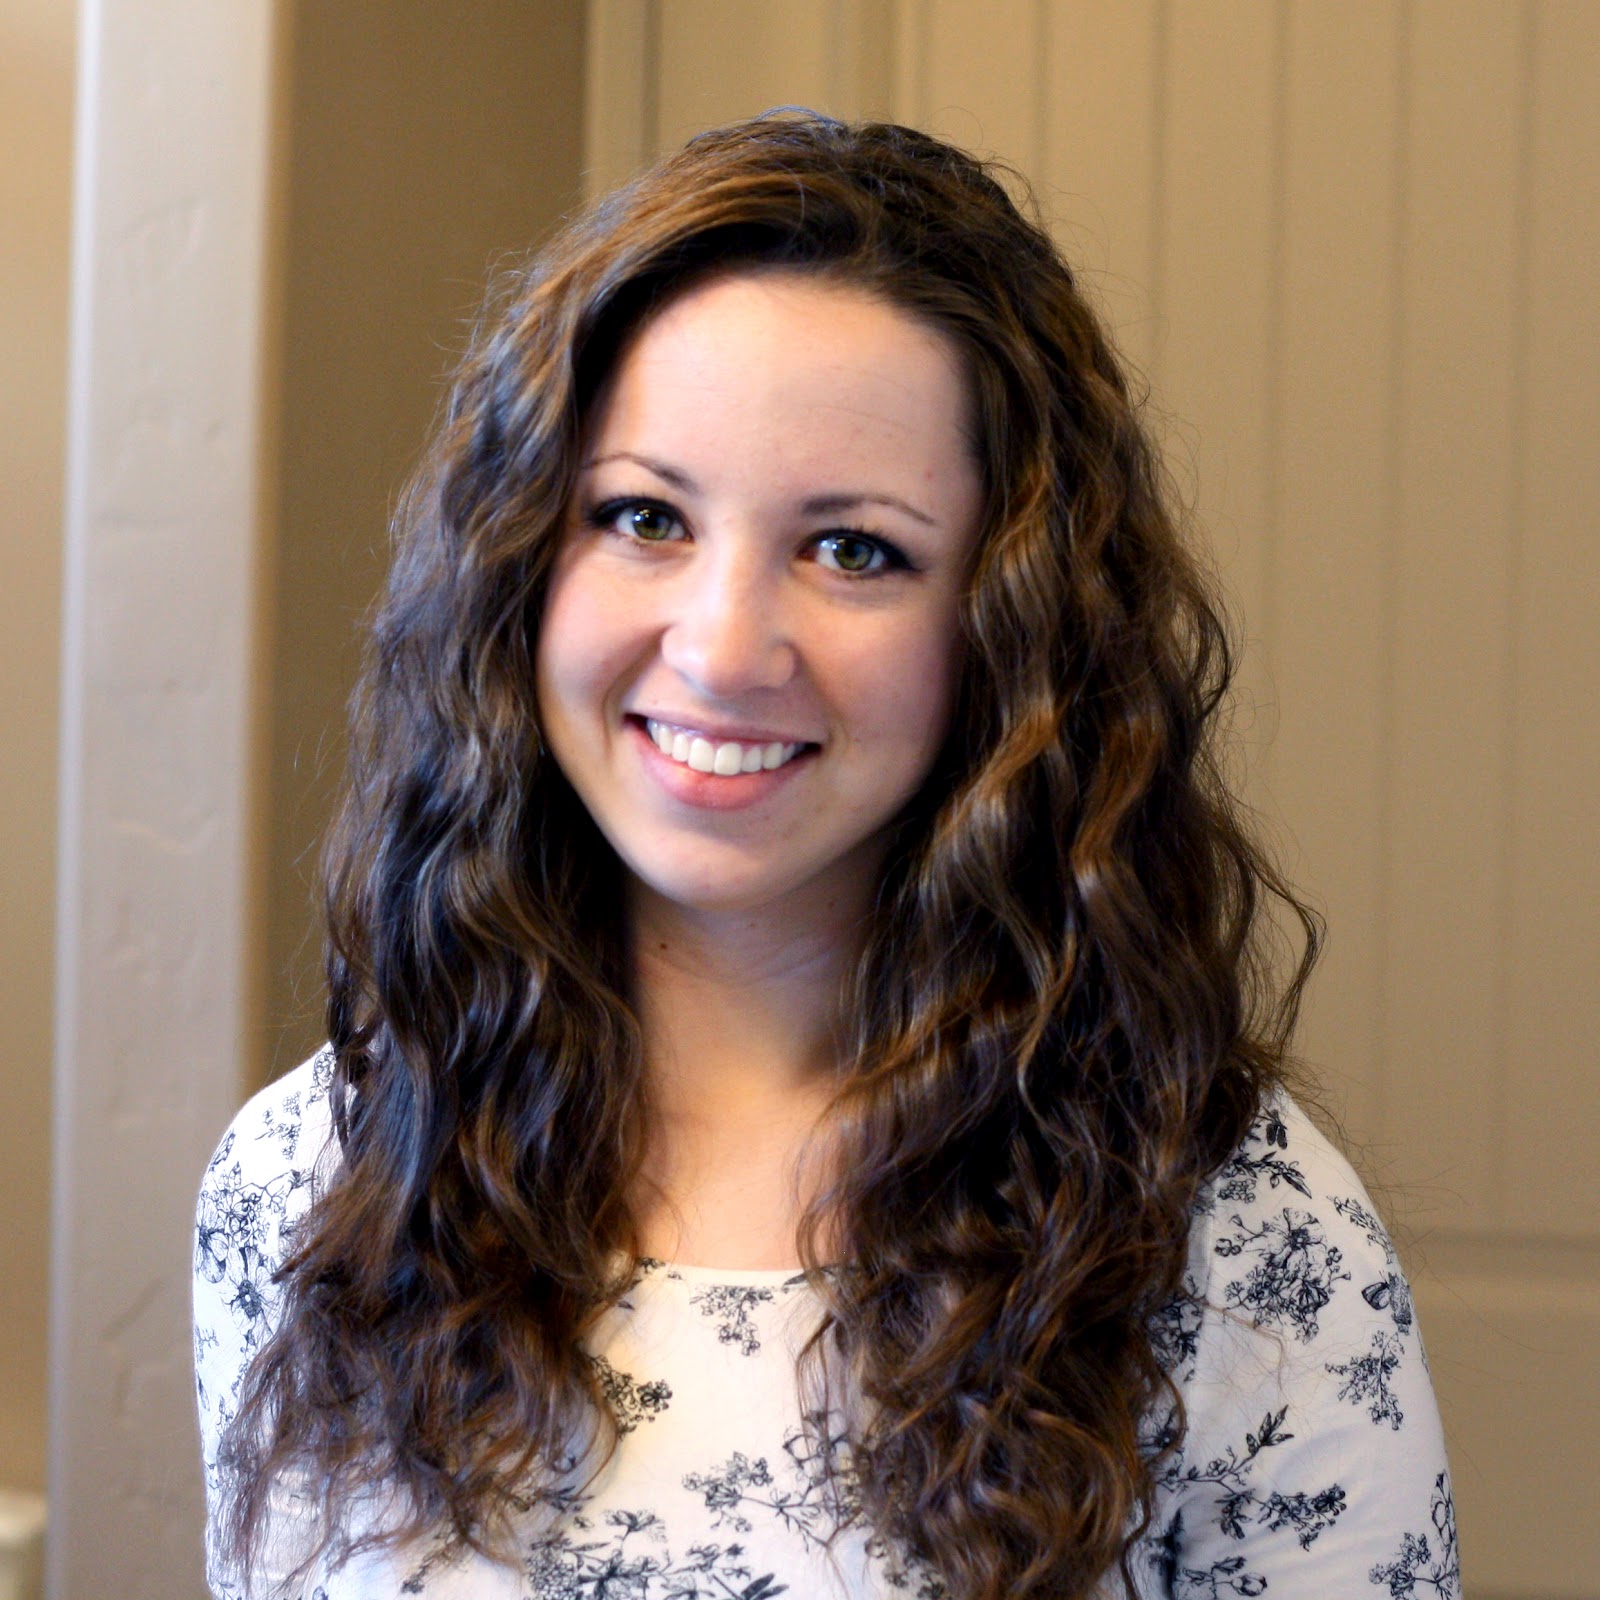
I've tried several styles and waving is definitely a fav of mine.

I used to wave my hair when I was younger. 

We're not talking the sexy beach waves found on every page of the Victoria's Secret bikini catalog....oh no....all of you know what I'm talking about. 

Envision 1999....YOU know what I'm talking about. 

It was either sectioned off pieces that were crimped (yikes), or the bigger waves that were hairsprayed within an inch of their lives. My hair could have got up and walked around by itself.

Ah, high school.

Yay.

Well, although the style may have changed, I still hold a fondness for the wavy look.

What d'ya think?


This will work with long and short, thick or thin hair....however, I will say, if you have shorter hair consider braiding the hair looser....you don't want to look like you had a war with the electrical socket and lost. 

Just sayin'.

You can also change it up with the number of braids you use. However, for my hair I find that two works best.

All you need are:

Two elastics...Woot! Simple!


K, the one skill you need is the know how with a french braid.

Wait! Wait!

For those of you who IMMEDIATELY said, "okay, well I was excited until she brought that up...guess I'll head back to pinterest..." give me a few more minutes.

I PROMISE.

French braiding is NOT. HARD.

It's very similar to curling your own hair, in that, was curling your hair a breeze the first time you attempted it? If you're like me, you ended with more burns on your fingers than curls in your hair.

Like french braiding, it just takes a few times practice. Then you get the feel of it.

AAAAaand, it DOESN'T have to look pretty. Remember? The only one who'll be mocking is your pillow.  If there are lumps, whooo caaaares?


I usually shower at night, so I let my hair air dry until it's just damp, and then french braid it...easy!

Here is a link for some step-by-step instructions on french braiding:

French Braid tutorial

*Hint: for those of you that have bangs, I find that braiding them in is better...this means you have to start the french braid pretty high on your head.*


Go to sleep, and the next morning, spritz your hair with hairspray BEFORE you take the braids out and let it sit for a few. Then, unbraid your hair:


Loosen the waves with your fingers...don't do it too much though, or you'll pull the wave out of your hair a bit.


Once you've got your hair the way you want it, spray with some hairspray, and ta daaaaa!


Sunday, June 10, 2012

DIY Vest

I saw this idea on Pinterest and wanted to try it out, so I bought a $5 t-shirt at Target today and gave it a try. First, take your t-shirt and find the middle.
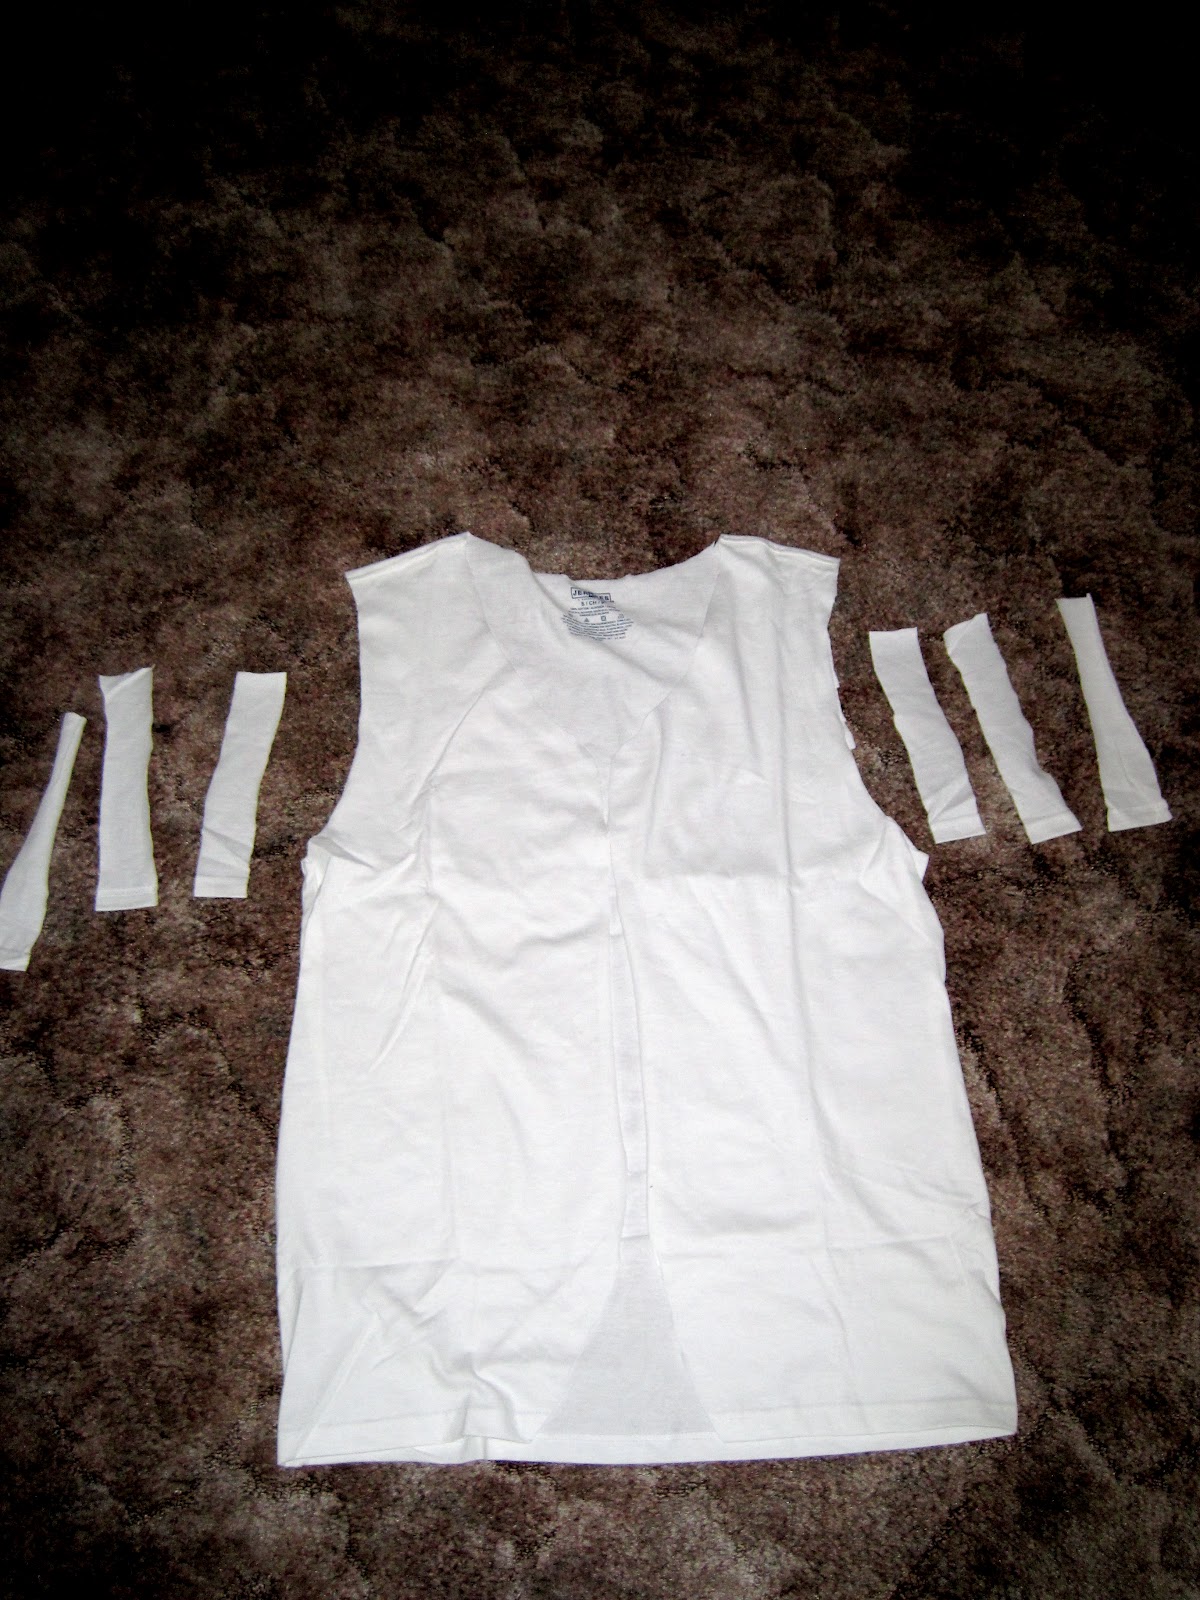
Cut down the middle and cut off the sleeves

And cut off the collar and taper it to make it look like you want

Use the sleeves to cut some fabric strips. The website said to cut 6 strips, but I only used 4.

The site also only tied the fabric strips around the shoulders and the back, but I ended up sewing them cuz I liked the look better.

It looks a bit cleaner to me.

So you tie and sew the fabric around the shoulders and the back

And there ya go! I need to wash it still to get the wrinkles and starch out so it'll lay better, but this is the basic idea. 

I think it turned out pretty good and it was super easy.


Friday, June 8, 2012

Fancy Friday: Straightener Do


I have ALWAYS loved to do hair. But, the older I get, the less time I have to devote to extravagant dos...

Let's be honest, the snooze button has replaced a LOT of the "do" time.

Yup, happens.


I recently discovered the "technique" of curling hair with a straightener...however...

Ummm, let's just say, my hair isn't the most consistent when it comes to that type of curling. My friends insisted, "Ohhh, it's sooo easy! Took me ten minutes!"

Bahhh.

NOT. so.

I have since dummed down the curled hairdo to a flipped ends style. I kind of stumbled upon the technique accidentally (in a curling attempt fail...ahem), aaand went with it. I was late for work.


Less formal than curls. It's more of an, "I just stepped out of the wind and yes, my hair looks like this" look. Works.

And all you need:


Boo.

Yah.

I will say, this works MUCH better with layers. The more, the better; gives it more body. It also works well with shorter hair. 


And now:

Start with clean hair, completely dry. 

Pin up the top layers. Get 'em out of the way.

Section off a 1-2" portion of hair.


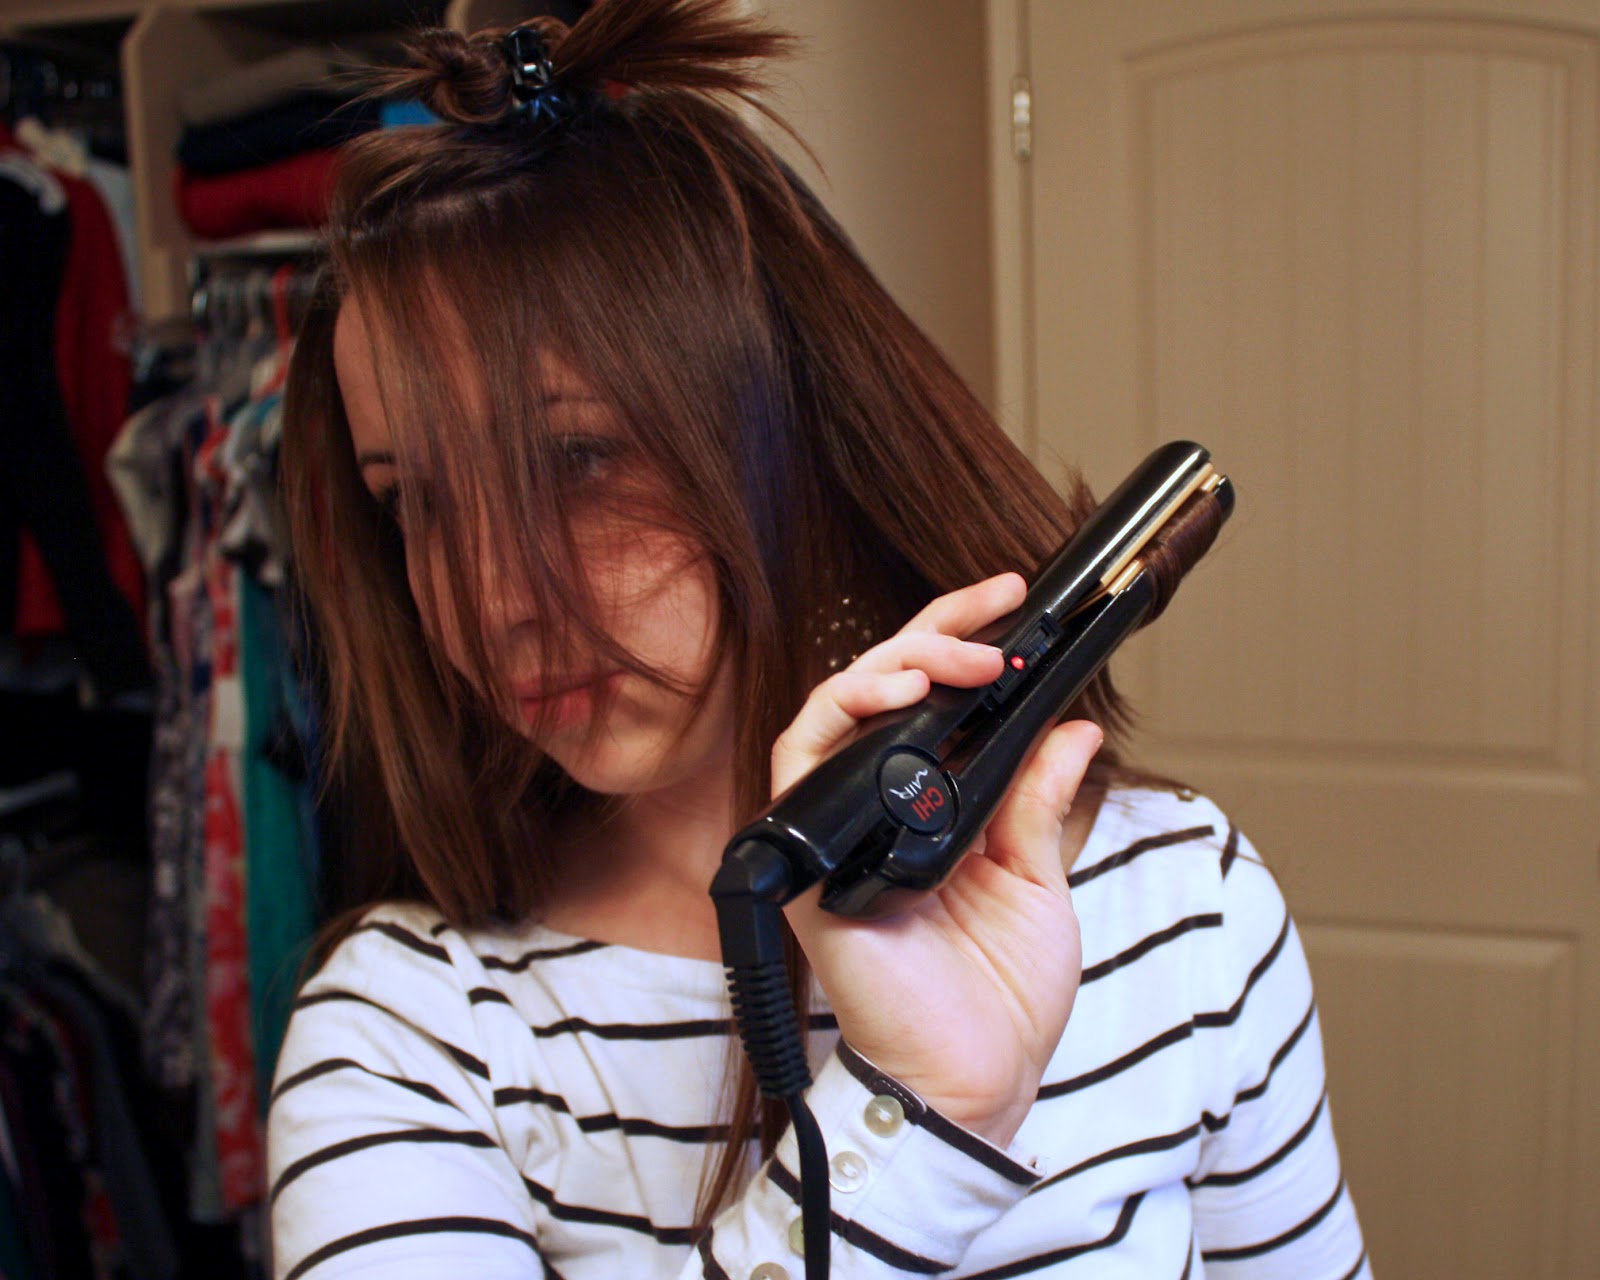
Theeeen, start as you would, straightening your hair. As you near the bottom of the sectioned hair, turn the straightner up until the hair is wrapped around the straightener. Like so:


Don't stop pulling as you turn it, keep it moving so as not to burn your hair. NOT the end goal, people. 

For those of you who have tried the curling technique, yes, this is very similar. Only difference? You don't turn the straightener until you're about a few inches from the ends. 

See? Ta daaa!

Flippy hair!


Repeat this, working your way until all layers are complete. 

Sooooo many layers. Eeesh.


When you're done, spritz with some hairspray, add some body product if needed, and voila!


Until next time!

xoxo,
     Alicia


Wednesday, June 6, 2012

Homemade Birthday Presents: Part One

Over the last few years because of lack of money excess of creativity I have been doing homemade birthday and Christmas presents. Over the last few years I have been scouring the web for ideas for presents. I went here and here and even here with little success. I searched for everything from "homemade presents" even down to "what to make my 31 year old husband for his birthday". Some of the things I found were were fantastic while others were difficult, time consuming, and expensive. Over the next few months I am going to show you some of the ideas that I have come up with that have worked and were not too expensive

While searching oneprettything.com and ravelry...seriously if your not a member become one today then learn how to crochet because its awesome and you will be addicted. I found a pattern for a crochet hot pad. I bookmarked the pattern and thought about it for a good long time.

Lots of thoughts crossed my mind:
Is it lame?
Is this something that my grandmother would give me for a birthday?
Would I seem like a grandma giving it?
What if people don't like it?
What if people don't cook?

Then I stopped thinking and started making. Yes these hot pads are something my grandma would give out but who cares. I have yet to meet someone who didn't say at one point or another "I really could use a hot pad or two right now." I also found fun colors and yarn for my hot pads unlike the black and gray ones that I used at my mothers house for years (given to her for her wedding from one of my Grandma's friends). BTW they are my mother's favorite hot pads and are the most used in her home.  For my hot pads I buy Sugar and Cream cotton yarn. I have found some similar cotton yarn at Micheal's for like $1.00 per skein. Each hot pad takes one skein so that is like a 2 buck birthday present. In my book that makes this present pretty rockin'. If you wanted to spend a little more always attach it to a box of brownie mix or if your feeling very creative make a mason jar with a cookie mix in it like this.

Before I start there are a few things you need to know about crochet before you start. You will be using 2 kinds of stitches for this pattern a SC (single crochet). If you are new to crochet there are tons of videos online that will help you learn how to start and finish. This project is simple enough that most people could do it.

Starting Out-http://www.youtube.com/watch?v=3NcOewm7qAA
Chain-http://www.youtube.com/watch?v=OtmOEzm_OXQ
Single Crochet- http://www.youtube.com/watch?v=OqhaQQajt0U

I started with this pattern but found out that the hot pad was all to small and difficult to use. Here is my revised pattern:

Single Crochet 37, Turn.
1: In 2nd chain from hook single crochet in each stitch (only going through front loop) repeat till end of row. On last stitch single crochet 2 times in stitch. Now single crochet in back loops so you will have a continuous round (note do not do 2 stitches in last loop).
2-20: single crochet in all stitches around. (Note:Only crochet around until the two edges meet.  Depending on how loosely or tightly you crochet you may need more or less rows.)


This will make the pot holder look like a large pocket (pictured above). Turn the pocket in on itself so that it looks like the 2nd picture down. Then take your tapestry needle and sew the opening closed.

Now you have an amazing birthday or Christmas present to give away.